Spotlight
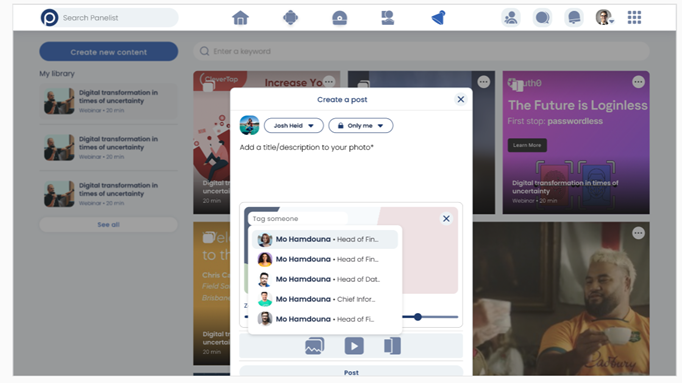
Spotlight is a social section that allows you to add images, videos, PDFs, from your device or content that you’ve already uploaded to your Panelist profile. When managing your events, it can be useful for you to share related content using spotlight.
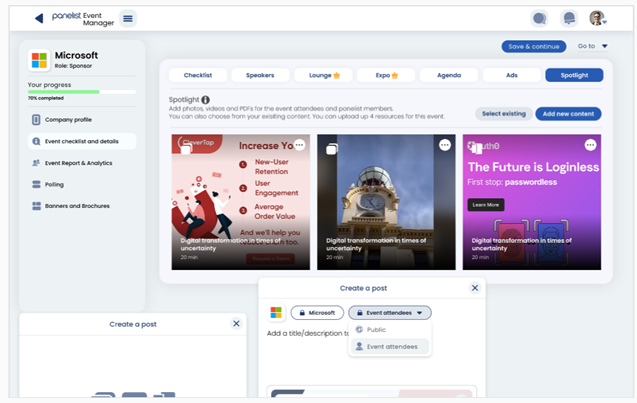
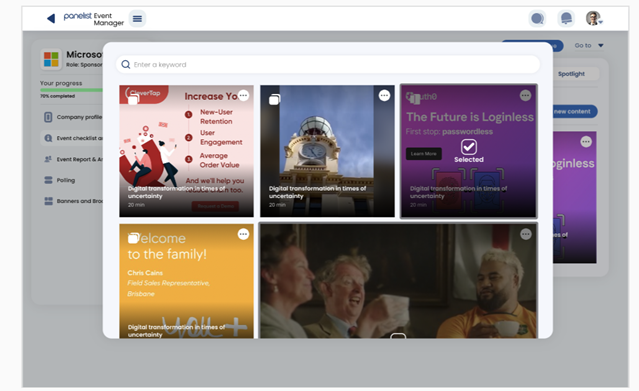
Tap on the create post icon to upload any document –be it video, picture, or any other file.
You can add description to a post and also tag a colleague or other members of your network.
Polls
Source Feedback and Opinions in Real-Time
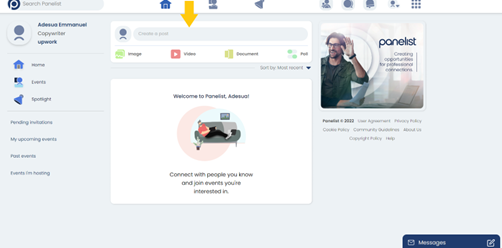
Panelist provides a number of nifty functions as a virtual event-centered social media platform. Among these functions includes the poll feature, which lets our users create live polls that they can publish on their home screen feed. You'll find this feature located within the top center panel of your Panelist home screen, where the 'Create a post' text field is.
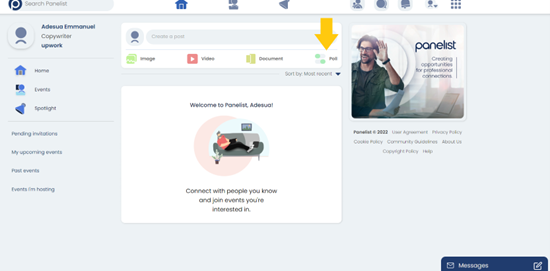
Navigate to the 'Poll' button, which is found underneath and to the right of the 'Create a post' text field.
You can also create a poll, using the ‘Polling’ tab in the Event Manager. This brings up the 'Create a poll' window, with a number of different text fields for you to complete. Depending on the question you'd like to ask in your poll, you'll be able to provide a number of different options for your connections to select.
You can also create a poll, using the ‘Polling’ tab in the Event Manager. This brings up the 'Create a poll' window, with a number of different text fields for you to complete. Depending on the question you'd like to ask in your poll, you'll be able to provide a number of different options for your connections to select.
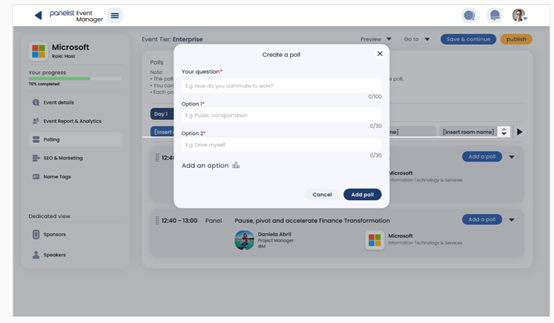
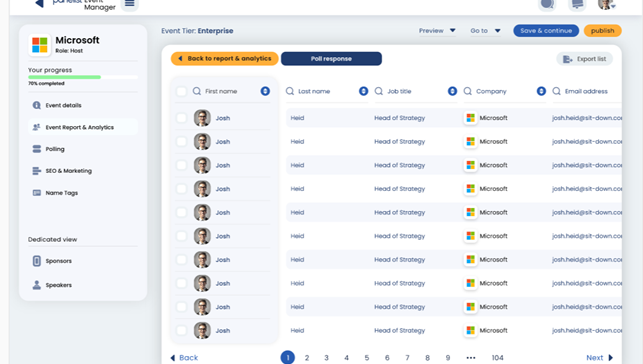
Additionally, you'll also get to choose how long you'd like your poll to go live. Results of your poll will be presented once your polling period is over. Once a poll is closed, other users will no longer be able to cast their votes. If you are viewing poll results in the Event Manager screen, you’ll also be able to export the results from your poll into a CSVfile.zm
Posts
Sharing Ideas and Information on Your Panelist Homescreen
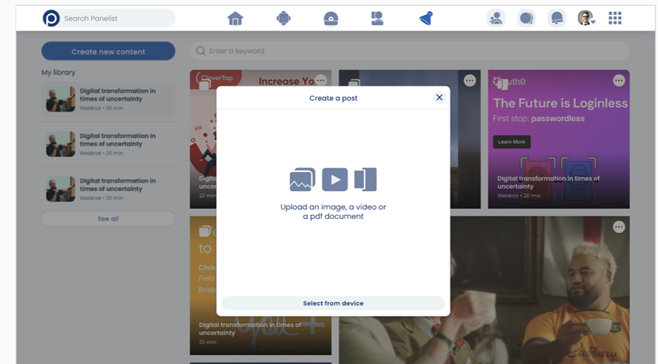
Clicking on the 'Create a post' text field at the top center panel of your Panelist home screen will bring up the post creation window.
You'll be able to describe any idea or information in detail, using the text field that says 'Type here...'. Additionally, the post creation window provides options that let you upload an image or video, document, or create a poll to be featured with your post.
All these posts come with customizable privacy settings, so you can choose whether they are seen publicly, or only by users you are connected to. Toggle between these privacy settings by clicking on the 'Public' button, located to the right of your profile name. Select the appropriate privacy setting so you get to decide exactly who can see what you're about to post.
Articles
Publish Thought-Starting Articles that Inspire Your Network
Panelist provides a content-rich, yet uncomplicated platform through which you'll be able to share opinions and thought-starters with your connections. Just click the 'Content' button, found within the top middle panel of your Panelist homescreen – where the 'Create a post' text field is located.
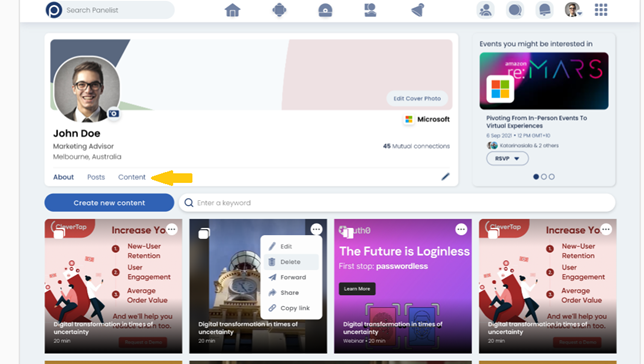
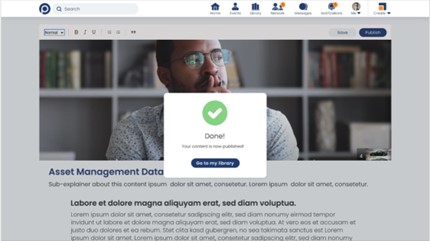
Clicking on the 'Content' button will bring you to the Content creation page, where you'll be able to customize and publish your own articles. Pick an attractive cover photo to upload, so your piece of content grabs visual attention easily.
We've made content creation easy with Panelist – so piecing together your next thought-provoking industry topic can be as simple as coming up with a catchy Headline, and then using your words to express your best ideas.
We've made content creation easy with Panelist – so piecing together your next thought-provoking industry topic can be as simple as coming up with a catchy Headline, and then using your words to express your best ideas.
Events
Your Virtual Center for the Latest Industry Events
Your Panelist home screen features a number of ways for you to access all the latest information about events that are happening within your network.
Whenever a user in your connections shares or publishes an event, you'll be able to see that appear within the middle segment of your Panelist home screen. This feed of information constantly updates itself, according to any activity published by those you are connected to.
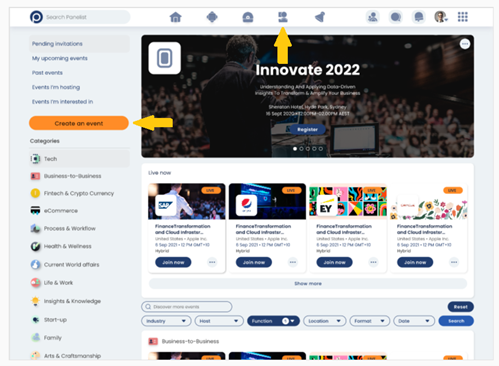
If you'd like to create an event of your own, all you need to do is navigate to the Events page, via the top toolbar option for ‘Events’.
Whenever a user in your connections shares or publishes an event, you'll be able to see that appear within the middle segment of your Panelist home screen. This feed of information constantly updates itself, according to any activity published by those you are connected to.
If you'd like to create an event of your own, all you need to do is navigate to the Events page, via the top toolbar option for ‘Events’.
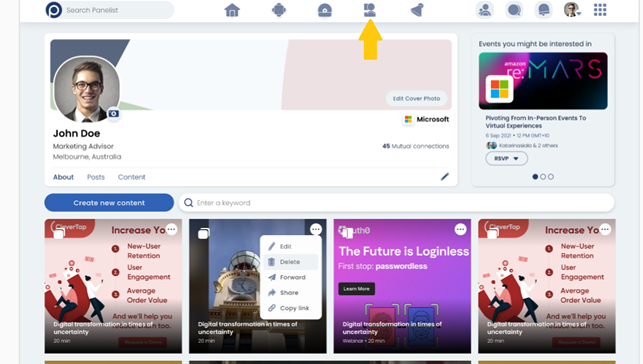
In the Events Page, click the yellow ‘Create an Event ’button on the left sidebar to start piecing together the details of your event.
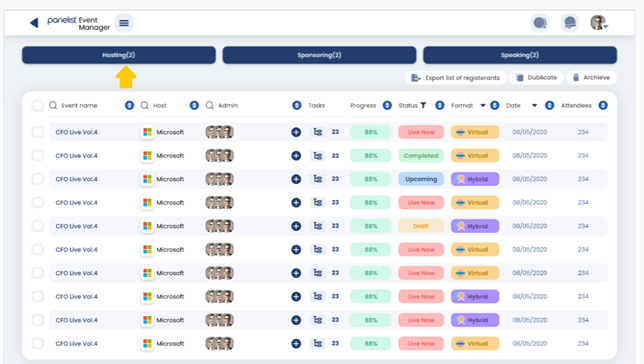
Similarly, you can also use the Event Manager screen to keep track of all the events you may be planning over an extended period of time.